
Speededit Vancouver
This time the Speededit video is not a portrait or people shot. I decided to use one of my latest shots I took from the Vancouver lookout to kind of demonstrate how much work goes into this type of photos.
But let me first start with a little background story on this shot. I have been to Vancouver four times now but I had never gone up the Vancouver lookout – I don’t even know why. I usually LOVE to go to high places such as lookouts or mountains or any other type of elevation that gives me a great view of my surroundings. Well anyhow – I went up after realizing that I could get a 50% discount on the ticket with my company ID and so I was even happier about this venture.
After a short elevator ride, I ended up at the observation deck with goes all around the tower and offers a perfect view onto Vancouver and the waterfront. The glass windows are tilted away from you, giving you the possibility to shoot down at the city which is great. I had packed everything I needed (at least I thought) and everything I thought I could bring after experiences in the past had taught me that I could leave a tripod or any other mounting gear at home when going to such a place because they weren’t allowed there. Well – was I wrong!
After a nice talk with the girl that worked up there, I learned that EVERYTHING was possible – tripods, suction mounts…you name it! Damn – had I just brought my tripod. Well – anyhow…I decided to try and get some decent shots. lenskirtOh – I forgot to mention one thing which I had on me and which came in very handy: my little Lenskirt! If you haven’t heard of this “device” – it’s a piece of cloth with little suction cups that let you attach it to a window and it has a little hole on the back which lets you stick through your lens. If you click on the photo, it’ll take you to the website. Basically it helps you get crisp and sharp shots through windows without reflections from interior lights, signs etc. which has always been a nightmare so far. This thing isn’t cheap but it’s durable, very lightweight and you can fit it in every little bag and take it with you. One downside is that you can’t shoot at a much smaller angle than 90 degrees if your shooting at a wide focal length and you have to fiddle with it a bit until you get it right…but the result is worth it!
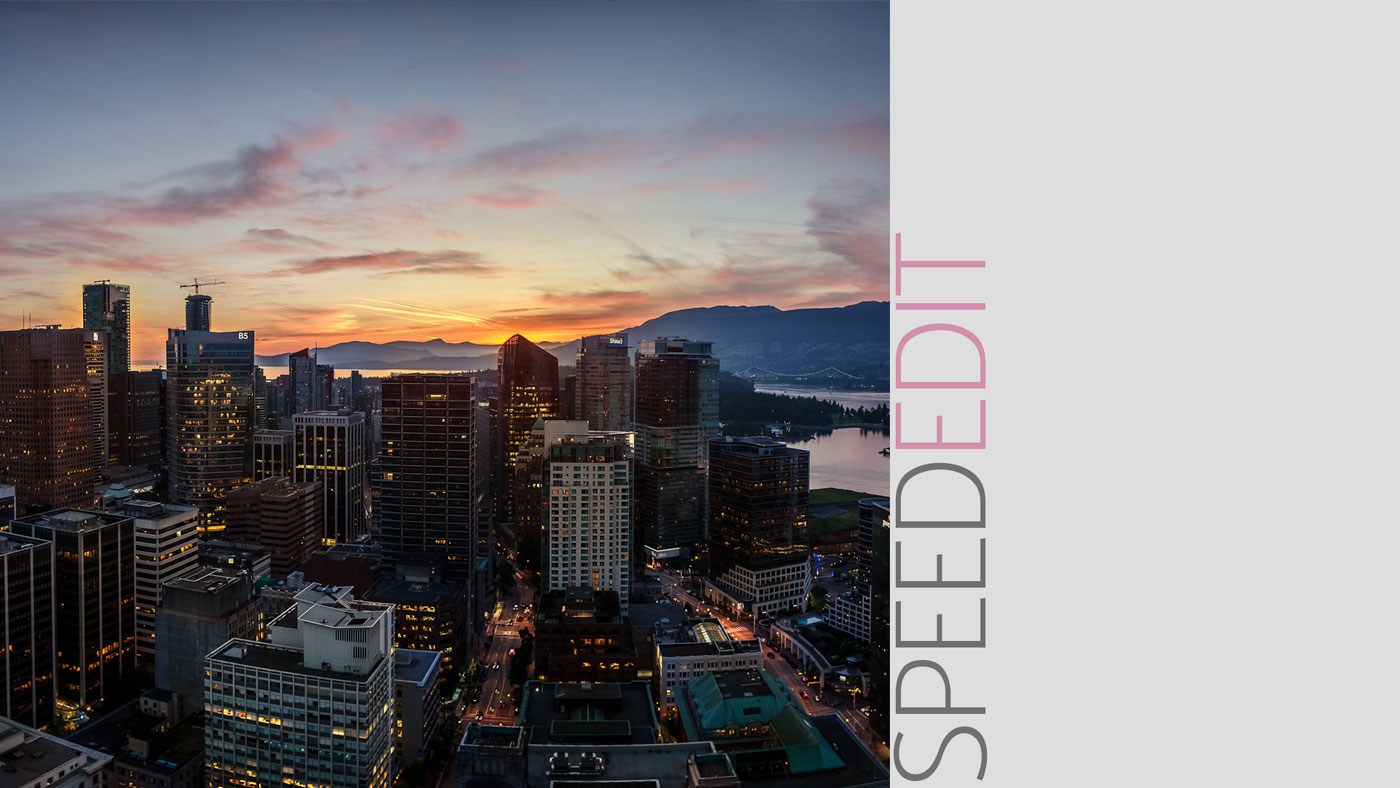
Back to the shots. I was up there way before sunset – it’s always good to bring some time and wait for the right moment, that magical hour when the sun is low and still gives you that glow onto the city and landscape and when the city lights are turned on. I walked around, shot away, tried the best technique to get the shots I wanted and then I waited. I waited until the light was just right. I had chosen my favorite spots already and when the time had come, I quickly shot away using the glass windows as something to lean on and sticking the lens against the glass. The shutter speed got pretty long for handholding it. I think my longest shutter speed was around 1/15th of a second but I still managed to get it in focus. The photo you are watching me edit in the video above is a panorama that consists of 4 shots – HDR shots! That means that I had to take 12 exposures at low light leaning against a window with my camera against it, feeling almost suspended in midair because of the tilted glass. It was magnificent and to be honest – I wasn’t even sure if I had gotten the shots.
Once I got home, I downloaded the photos onto my computer and started working on them. Since Lightroom CC has been released, I hadn’t tried the new HDR and panorama functionality so this was the perfect time to do it and see how it performs. What can I say – the guys at Adobe have done a tremendous job and I love that you can now combine multiple images to a 32 bit RAW (!) HDR photo or panorama. The speed Lightroom does it is incredible and the results look very natural without the typical overdone HDR look you sometimes tend to get when using Photoshop.
After playing with the shots, I took those 4 and made a test – merging the HDR exposures to single files and merging these files to a panorama. Wow – that’s when I decided I would make a Speededit video out of it!
Just to give you a short overview of what you see in the video…I started to merge the files to HDR images and those images were merged into a panorama. After some tweaks in Lightroom, I took everything into Photoshop and started the final editing. I started with a frequency separation to smooth out some of the tones in the sky and clone out some unwanted spots. Then I started to dodge the illuminated windows of the buildings which took a little longer. After that, I did some dodging and burning on the buildings to make them stand out. This was followed by some selective sharpening because I wanted the skyscrapers to be really nice and sharp but the sky soft and smooth. After increasing the contrasts selectively a second time, I sharpened the whole image with a high pass sharpening technique. I wanted to add a little warmth to the skyscraper which was directly hit by the sun and created a warm glow around it giving the impression of a halo. After playing with the tones of the buildings, I managed to take out some of the blue tint and gave them a warmer look. After adding a subtle vignette and my branding, the image was done.
So – you see that a lot of work goes not only into editing such an image but also into planning and executing the whole thing. Sometimes people tend to forget that taking pictures that stand out is a process that goes beyond pressing the shutter one or two times.
I hope I could give you some insight on how to approach such a subject and maybe you can take some techniques or ideas with you the next time you go out shooting a beautiful city like Vancouver!
Teile diesen Artikel