
Polaroid isn't dead
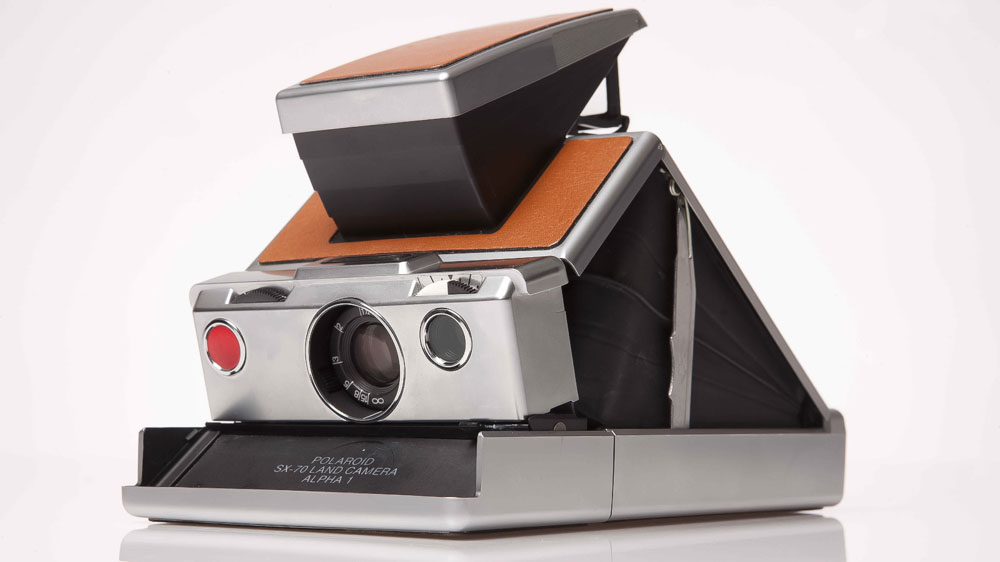
Late in December 2015 I started looking around the internet to see, if I could find an affordable Polaroid camera. There are many options but since I’m always drawn to stylish (and expensive) products, I settled on the Polaroid SX-70 that was built around 1974. There aren’t too many options when it comes to finding one of these babies and prices range from the low 100s on Ebay to almost 400 Euros on Etsy. After spending some time researching my options, I got extremely lucky and closed a deal on Ebay at only 89 Euros for a SX-70 in pristine shape. But now the real challenge started: How do I use this camera?
I have never shot instant film before and so I had to look for information online about settings, what film to use and what options I had.
The question about films is answered quickly. There is only one company that provides compatible film. Its name is Impossible Project and they have a great website where you can order film for all types of Polaroid cameras. The films aren’t cheap – a pack for the SX-70 sets you back 20 Euros – for only 8 frames. But I think, that this changes the way you shoot if you’re coming from a digital background. I learned that I walked around much more attentive and chose my shots much more carefully before pressing that shutter. The first film pack didn’t go very well – I still didn’t have the slightest idea about how to use the camera. But there’s definitely a learning curve and starting from my second pack, the images got much better.
Impossible Project has a nice article on their website about camera settings. You can find the article here. Nevertheless – I wanted to give you a quick overview of the settings and then I’m gonna show you some of my results with the corresponding settings I used for the particular shots.
Two things that you need to know are: Impossible Project film is more sensitive than the original Polaroid film – therefore you have to adjust the settings before shooting. Second: Everytime you open up your camera, the exposure compensation wheel is back to the middle setting. Don’t forget to adjust it according to your light situation before shooting.
After a couple of shots, you’ll quickly get the hang of it and know how to correctly set the exposure compensation. One thing to keep in mind is, to shield your frames from light right after they came out of the camera. This will prevent the shots from being overexposed. There is a so called Frog Tongue that is attached to the front of your SX-70 and unfolds over the frame coming out of your camera. This is a great addition if you want to avoid light leaking onto your freshly exposed images. Head over to Impossible Project for more information and the whole range of products.
I hope this little article could give you some useful information, if you plan on purchasing a Polaroid camera. If you have any questions, feel free to drop me a comment down below and I’m happy to answer all of them.
SETTINGS FOR THE POLAROID SX-70

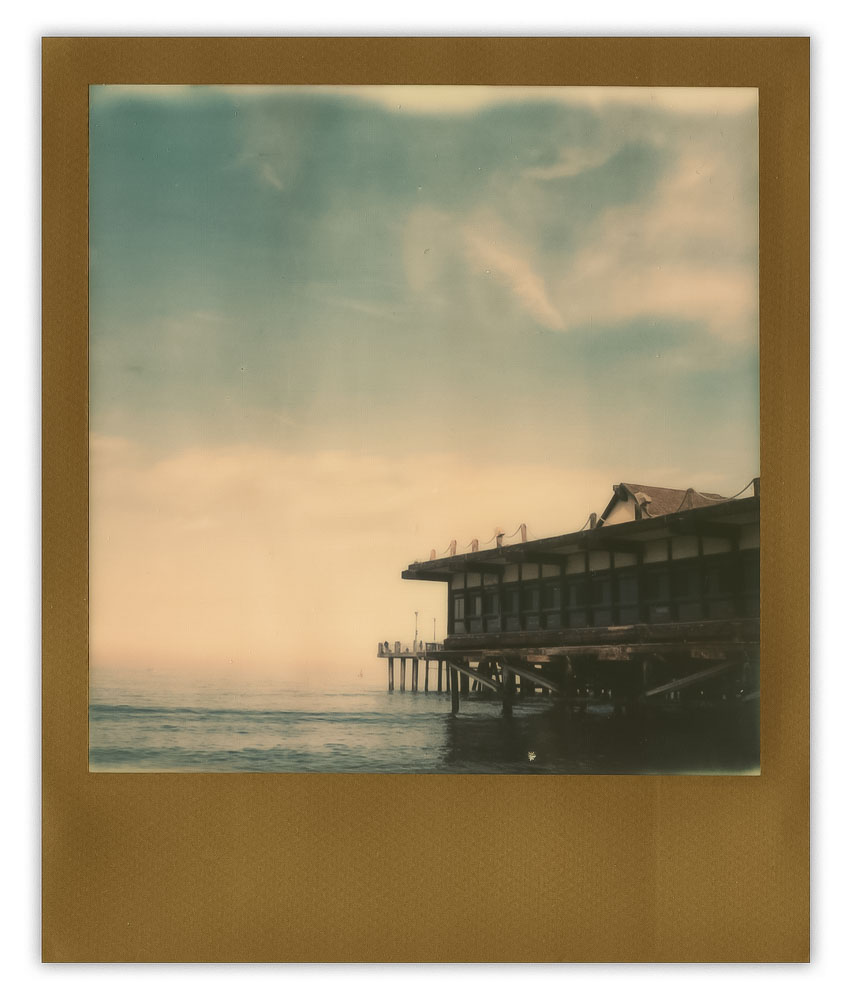
SHADOW/NIGHT
(dial in center)
This works great for dusk or any darker light condition as long as you don’t have any bright light sources in your frame.
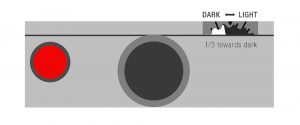
DAYLIGHT
(dial into dark area)
When you shoot on a slightly overcast day or the sun is not directly in the shot. This setting applies too, if you shoot night scenes with bright artificial light sources.
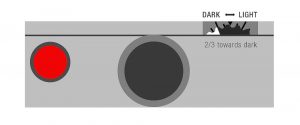
SUNLIGHT
(dial slightly into dark area)
This setting works when you shoot in bright sunlight, bright artificial light or if you want to get more detail in your shadows.
