My Photography Workflow
1. Shoot
There’s not a lot to say about this one – I mainly shoot with the lens that the situation dictates. In studio I generally use my 85mm f1.8 or the 50mm f1.8 Nikon lens because I love the Bokeh and how sharp they are. For my landscape and panorama shots I mainly use the Samyang 14mm f2.8 although I'm thinking about getting a 35mm prime.
2. Import & Backup
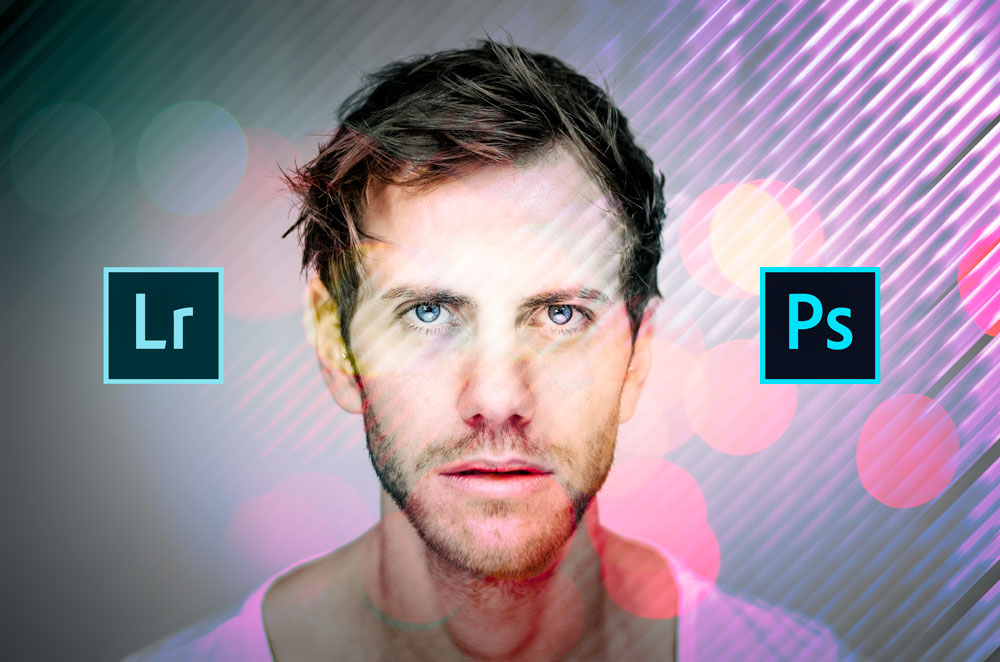
Importing your images with Lightroom is a straight forward process and I’m not going into details about it now. I recommend getting a lot of disk space – and I mean A LOT! When you shoot RAW as I do, you want to make sure that you have enough space for all your images and backups. I believe that today I have a total of 13.5 TB of disk space which gives me enough room to store my photos. I’m not someone who gets rid of photos – I like to keep everything (I don’t keep blurry oder under/overexposed photos though).
Another important thing is, to find a system that works for you. There’s different ways of sorting your images – some like to organize their shots in model or location based folders, others prefer the date system. I use a combination of both. I start by year – month – model or shoot name. Within the session folder, I do have 3 subfolders: Selection, Edits, Output and Raw for the originals. As the names already reveal, Selection is for all selected but unedited photos, Edits contains all edited shots and Output holds JPG’s and TIFF’s for web publishing or printing purposes. That makes it easy for me to find stuff quickly and know where I put for example a web version with watermark of a specific image.
As a backup solution, I’m mirroring the photography hard drive to an external drive and I use a tool called FileSync which is free AND it's simple, yet great! Once a drives fills up, I stow it away in a container. And I have a copy of everything at a location outside my home - just to be safe.
3. Selection
As a photographer, a lot of the work happens of course behind the camera in the studio or outdoors and since the era of digital photography, a photographer doesn’t have to spend hours over hours in a darkroom, developing his photos with chemicals and doing the comparably oh-so-painful retouching by „hand“ (although in the meantime, I truly enjoy developing my own film which wasn't the case back when I originally wrote this article).
Today there is a ton of tools that you can use to create the „perfect“ photo or alter a „not-so-perfect-one“ for instance…and it can easily happen that you get lost in the process and the possibilities. Time is of course also a factor and so finding the right balance between pre-shoot preparations and post-shoot workflow without getting too carried away, is key.
This article will give away some of my practices and what my workflow looks like. I hope this can maybe help some people to understand, how I do stuff and I’m also gonna try to explain, WHY I do it the way I do. I just want to emphasize that this is not the ONLY way to do it. It might not even be the best way – but it is what I would call „my perfect way“. I’m still learning though and my way of doing things might slightly change over time. There’s definitely a learning curve and I only want to give some inspiration.
During the last 4 years, I have improved quite a bit – not only my skills as a photographer have grown, but also my editing skills and the way I do things have changed. I’ve watched hundreds of videos on YouTube, not only teaching me how to do certain things in Photoshop but also about workflow, lighting, composition and much more. I can only urge you to use this resource if you want to get better at what you do. There’s something for everyone there – no matter if you’re a professional or an amateur.
For me, PHLEARN is one of the best YouTube channels when it comes to the use of Adobe Photoshop. Aaron Nace has a brilliant way of explaining things and the content he and his company offer, is simply amazing!
Another highly recommendable and great resource is the B&H Channel (I call this store in NYC „Photographer’s Paradise“ – there’s literally nothing you can’t get there). They have an event space where the professionals regularly hold presentations and classes that are recorded and put onto their channel on YouTube.
But let’s start analyzing my photography workflow.
Before I start talking about how I do things, I quickly want to mention, what I use. I do have a Nikon D7000. Together with a tripod, lights, backgrounds, remote controls (the simple button release/intervalometer/tethering solution), props and of course the models, that’s how I create my shots. I use Adobe Lightroom and Photoshop for post processing and a Wacom Intuos tablet for retouching. That’s basically all my equipment and I found it great for what I do. On the right there's a more detailed list of my gear (updated 2017).
But no let’s go ahead and talk about my 5 step workflow.
The selection is a very important step and I usually take some time to look at all the photos of a shoot. It’s not always easy to chose which shot to use and I often compare images to find those minor details that make or break a winner. Sometimes I even step away from the shots for a couple of days and look at them with fresh eyes.
Using the rating system of Lightroom, I quickly build a selection hierarchy with 1 star for a general selection and 2 stars for „goes into editing workflow“. That makes it easier to filter the shots. Just think about a session with a couple hundred or even thousands of shots where you have to keep track of what you selected maybe half an hour ago…you quickly lose track and so rating the images, makes it a matter of seconds to let Lightroom show you only the starred images.
4. Editing
Editing is a very important process to me and I have different ways of editing – depending on what type of image I’m working on.
Let’s for example talk about my street shots. I want to capture real life on the streets and I love the documentary character of this kind of photography. Therefore I tend to change these photos to black and white. There’s no retouching involved – I just sharpen them a tad and add my watermark. Pretty straight forward, right?
It is a different thing when it comes to my panoramas. It lays in the nature of these shots, that there’s a bit more post-processing to do. I start off in Lightroom and do all the basic adjustments such as exposure, contrasts, clarity, spot removal or white balance corrections. Another important thing with panoramas is also the lens correction in Lightroom. After doing that, I bring the shots into Photoshop and I stitch them together. Then the creative and fun part starts: From clonestamping out unwanted things, dodging and burning to color grading and sharpening there’s many steps involved and I don’t want to get too much into that right now. Not only because it has nothing to do with the overall workflow – I like to keep some secrets about the way I do things and it would take too long, to describe everything I do.
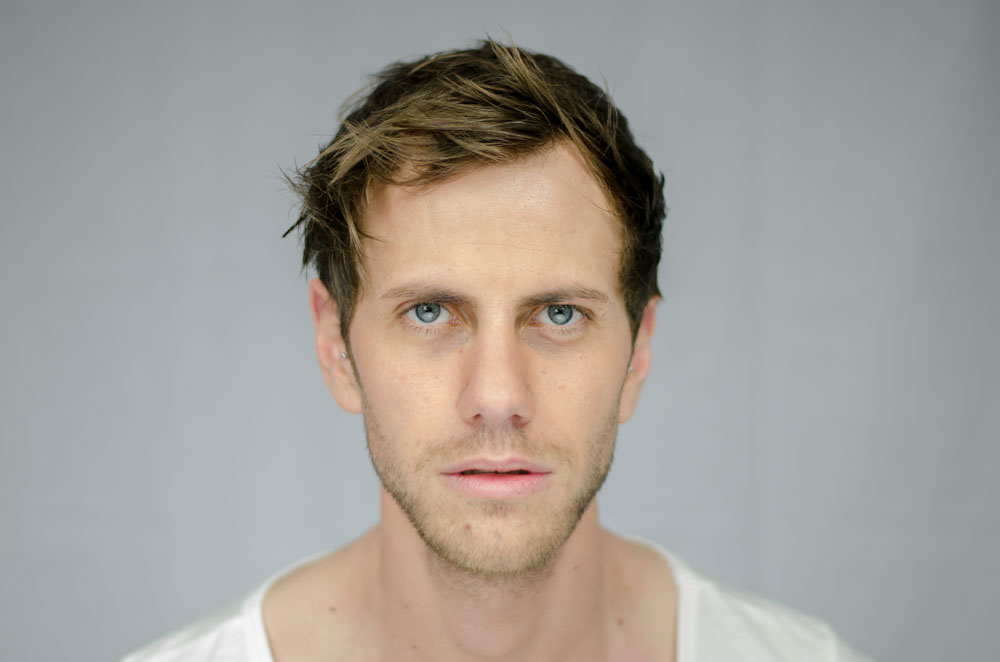
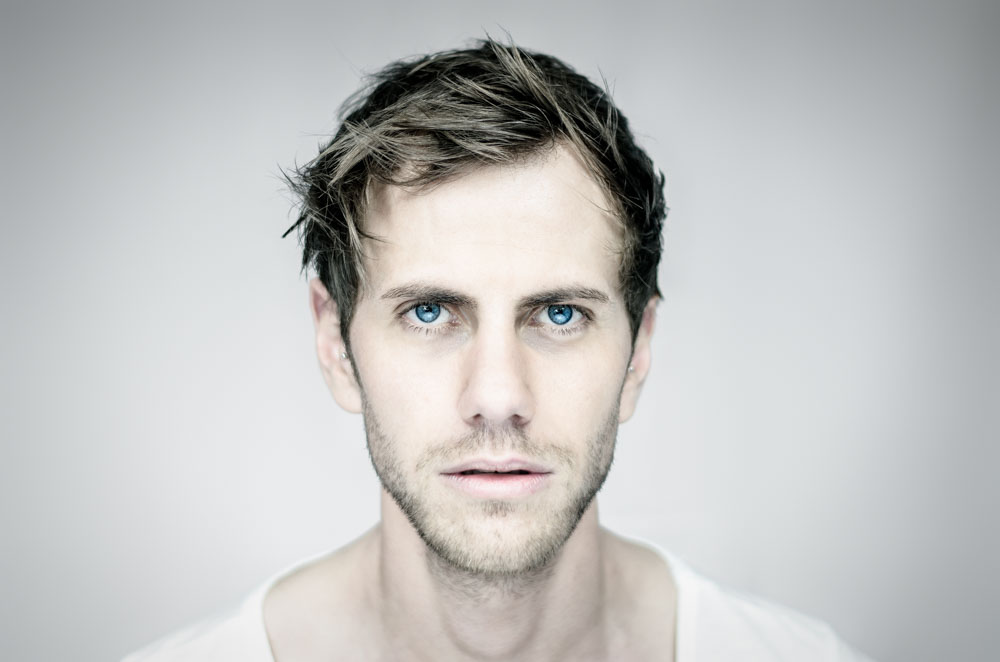
The third type of editing is the one I do on my people shots. I would say, this is the most challenging and most difficult one. I love a very natural look – I don’t like to overdo things making the people look unnatural or fake. I’m a fan of detail and sharpness so most of the editing work happens on a very subtle level. I start with retouching the skin using a method called „frequency separation“. This gives me the most control over what I do and it is non destructive. The next step is dodging and burning to enhance highlights and shadows. This is followed by sharpening and color grading to get the final look I want.
3. Selection
The last step in my workflow is exporting the edited photos for all the different uses. I have several plugins for Lightroom that let me automatically export my photos to the different platforms such as Instagram, 500PX, Deviantart or Flickr and each preset holds the specifications I defined for that particular service (size, filename, watermark etc.). For print output, I use ICC profiles that the company I work with provided, letting me soft-proof my photos before I send them out for print.
This is basically it – a general overview of my photography workflow. I tried to keep it short and informative but if you have any questions, feel free to drop me a line below and I’d be happy to assist you wherever I can.
On the right you can see a comparison of an original shot and the final result after editing just to give you an idea.
Photo
- Adobe Lightroom
- Adobe Photoshop
Plugins
- NIK Color Efex
- RayaPro
- Instamask
- Imagenomic Noiseware
Video
- Movavi Screen Capture 5
- Davinci Resolve
- Adobe Premiere Pro
- Adobe After Effects
3D
- Sketchup
- Blender
Hardware
- Nikon D810
- Nikon D7000
- Nikkor 50mm f1.8
- Nikkor 85mm f1.8
- Samyang 14mm f2.8
- Samyang 100mm f2.8 Macro
- Wacom Inutos M tablet
- Logitech Performance MX Mouse
- Windows Desktop PC
- Macbook Pro 2017 13"